
 REVIEWS
How to Trim Custom Patches Perfectly | Tools & Techniques UK
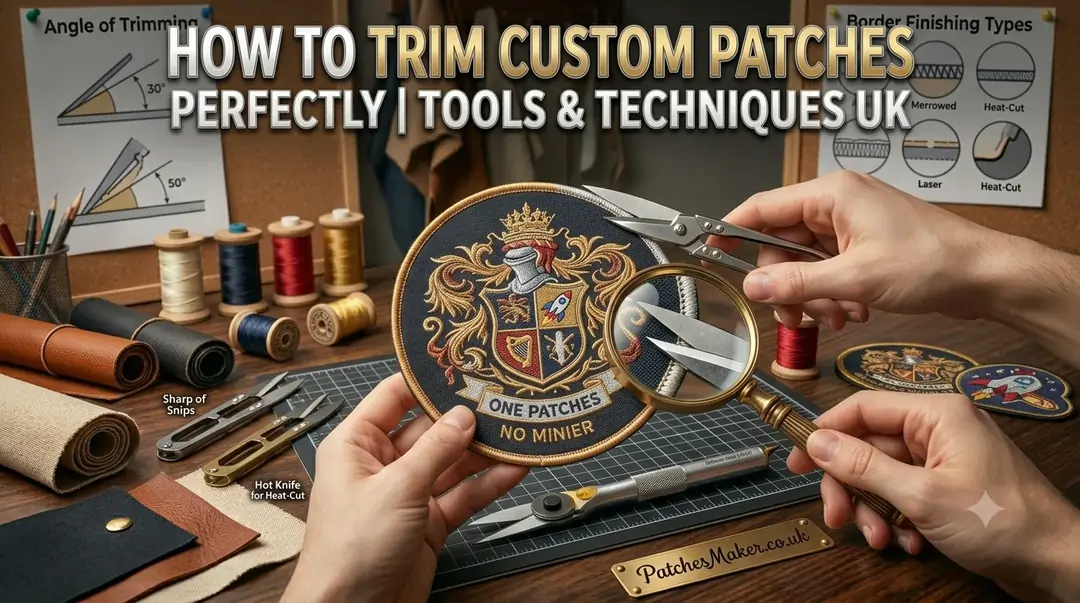
Precise patch trimming is a key skill that every hobbyist should have.
You might have noticed a well-designed patch instantly losing its appeal if it’s poorly trimmed. The biggest nightmare for patch lovers is the look of uneven edges or cutting too close to the embroidery, which makes even the best design of a patch look unfinished.
This is the reason that neat trimming is one of the final steps that separates a professional-looking patch from an amateur one.
All you need is the right tools and techniques, along with a little patience and attention to detail, to get professional-level results.
Keep reading to find out how you can achieve clean, smooth edges that improve both the appearance and durability of your patches.
The Right Way To Trim Your Custom Patches
Hobbyists and DIY creators in the UK often focus on the embroidery designs but forget that the finished work is equally important. A patch order with excellent stitching can still look untidy if the edges aren’t trimmed correctly.
But you don’t need to worry about perfection.
Any experienced custom patches maker will tell you that precision is developed through practice. The more patches you trim, the easier it becomes to judge curves and clean finishing without second-guessing every cut.
Neat trimming helps with:
- Giving the patch a professional finish
- Prevention of loose threads from fraying over time
- Sewing or ironing the patch onto the fabric is easier
- An improvement in the overall appearance of the embroidered design.
The edges will immediately make your patches more polished, no matter what your purpose is.
Choosing the Right Tools
You don’t need expensive equipment to trim patches successfully, but using the correct tools makes the job much easier.
- Sharp Embroidery Scissors
A small pair of embroidery scissors provides the precision needed for trimming close to the border without damaging the stitching. On the other hand, blunt scissors often leave rough edges or pull on the fabric.
- Precision Craft Knife
For patches with intricate shapes or tight corners, a craft knife can provide better control than scissors. Always use it on a cutting mat to protect your work surface.
- Cutting Mat
A self-healing cutting mat keeps your surface safe while giving you a stable base for detailed trimming.
- Fine Tweezers
Tiny threads sometimes remain after trimming. Tweezers allow you to remove them neatly without disturbing the embroidery.
- Fabric Marker
Lightly marking cutting points beforehand can help maintain consistency across every design if you’re trimming several patches.
Prepare the Patch Before You Start Cutting
Spending extra time on the finishing stage is beneficial if you’re learning how to make custom patches for clothing, as careful trimming often has just as much impact on the final appearance as the embroidery itself.
But rushing straight into trimming is the biggest mistake beginners make.
You need to inspect the patch carefully before you pick up the scissors.
Check that:
- The embroidery has been completed correctly
- Your border stitching is secure
- There are no loose threads that need to be removed first
- The backing has fully adhered if it has been applied
Working on a clean and flat surface also improves accuracy. Trying to trim while holding the patch in your hand often leads to uneven edges.
Start with the Straight Sections
Begin with the straight sections first if your patch includes both straight and curved edges.
These are easier to cut and help establish the overall shape before tackling smaller details.
Keep the scissors moving steadily rather than making large cuts.
Short and controlled snips produce a smoother finish and reduce the chance of accidentally cutting into the embroidered border.
If your design includes a merrowed border, leave a small, even margin around it rather than trimming directly against the stitching.
Work Slowly Around Curves
Rounded edges will demand some extra patience from you than straight lines.
Instead of turning your scissors, rotate the patch as you work. This gives you greater control and helps maintain an even distance from the embroidered edge.
Large cuts can easily create flat spots on curved designs, so it’s better to trim little by little until you’re satisfied with the shape.
A lot of experienced makers prefer alternating between embroidery scissors and a precision knife to achieve cleaner results for detailed logos or unusual outlines.
Different Patch Styles Require Different Techniques
Not every patch should be trimmed in the same way.
For example, custom biker patches have bold shapes and thick borders made using embroidery, which allows for using bigger trimming margins without changing the whole look of the patch.
Small decorative patches require more precision since all mistakes during the cutting process are easier to see.
Trim Complex Shapes with Special Attention
There are patches that have a simple design and patches with complex outlines. This kind of patch requires a bit more patience.
It means that you shouldn’t try to cut around the whole design in one go. Instead, do it in parts. It will take more time, but the result will be much more impressive.
Here is what you should pay attention to when trimming complex patches:
- Work with one section at a time
- Check the edges after every few cuts
- Use tweezers to remove fabric fibres
- Take a break and look at both sides of the patch for comparison
Don’t forget that the material can’t be replaced after it gets cut.
Trim According to the Patch Backing Type
The backing material used on your patch could also affect the process of trimming it.
- Iron-On Backing
For iron-on patches, one needs to trim them in such a way that they won’t harm the adhesive backing. Leave a narrow fabric border around the edge where possible, as this helps keep the backing intact.
- Sew On Backing
Patches with sew-on backing are a little bit easier to trim as there is no adhesive that needs protection. Nevertheless, trimming the edge too close to the embroidery could weaken the edge.
- Hook and Loop Backing
When the patch has a hook-and-loop fastening system, make sure that both layers remain aligned before trimming the edge. This is important as uneven edges will be even more visible when the patch is attached to the gear.
Also, keep in mind that baseball cap patches need to be trimmed carefully. The curved surface of the cap makes uneven edges more visible.
Check Your Work Before Calling It Finished
Do not immediately attach the patch once you are done with the trimming.
Take some time to look at the patch from various perspectives.
Check if:
- The edges are smooth throughout.
- The border width is consistent.
- There are no stray threads left behind.
- The shape looks balanced.
At times, you may find that there is a small section that requires just one or two cuts to improve the finish.
Good trimming is often about these final adjustments rather than the initial cutting.
Common Mistakes to Avoid
Experienced patch makers sometimes tend to make errors, but they are easily avoidable.
In case you want to compare your patch production costs in different patch designs, then a trusted custom patch pricing guide 2026 could give you insights into how border design and trimming might affect the final cost.
- Cutting Too Close to the Embroidery
It is among the easiest ways to mess up your patch since cutting too close to the embroidered edge would damage the entire patch.
It is essential to give some space between the stitches and cut to get better results and protect the embroidery at the same time.
- Blunt Scissors
The scissors will start pulling rather than cutting if they struggle to cut cleanly.
A sharper pair of scissors will make your work faster and neater.
- Attempting to Speed Up Your Work
Patch trimming should not be taken as a race since, in many cases, it will make your cuts uneven.
- Disregarding Loose Threads
Even though they look important, loose threads can make your neat work look unfinished.
Make sure to clean out all those little details.
Professional Finishing Tips
Some patch makers develop their own finishing techniques through years of experience, but a few simple practices consistently help produce cleaner, more professional-looking patches.
Start with proper lighting. A bright, evenly lit workspace makes it much easier to trim edges accurately and spot small imperfections that might go unnoticed until the patch is complete.
If you’re working on multiple patches, place them side by side before packaging or delivery. Comparing them together makes it easier to identify slight differences in size, stitch quality, border alignment, or colour consistency, helping maintain a uniform finish across the entire batch.
Stitching The Answers Together
Should patches be trimmed before or after the application of backing to them?
They should be trimmed after backing, since this enables them to preserve their natural design and gives them a cleaner edge in the final appearance.
Is it possible to trim my own custom patches using household scissors?
It is possible, however, it is rarely advisable due to the bigger size of those scissors and the lack of skills required to follow detailed borders or curved shapes. It is better to choose embroidery scissors to get more professional results.
How close should I make my cuts to the embroidered edge?
You should leave a narrow and even margin around the embroidered edge, as it helps with protecting the threads and adds a professional look to your patches. Make sure to avoid cutting directly against the stitching.
What do I do if I accidentally cut off too much fabric?
Your patch is still usable as long as the border stitch isn’t damaged. The only time when fixing becomes challenging is when you cut into the embroidery, and thus, the best way is to go slow and carefully cut small pieces of the fabric.
Is there a difference between trimming for different patch shapes?
Yes! Patches in simple shapes are simpler to trim than intricate ones. Trimmed patches come with many details and require lots of patience and small cuts for smooth edges.
Wrapping Up
Trimming is the last stage that makes the custom patch look finished. The embroidery might grab the attention first, but those smooth edges are what turn your patches into professional-looking ones. The selection of the proper tools and a careful approach at every stage is the key to achieving those professional and polished patches that will shine from a distance!

As the content specialist for PatchesMaker.co.uk, I focus on delivering practical insights into the world of custom patch manufacturing across the UK. My blogs cover everything from military and morale patches to promotional and corporate branding solutions. I break down production processes, quality standards, backing options, and design considerations in a clear and professional manner. Through informative and research-driven content, I aim to help businesses, sports teams, and institutions make confident decisions when investing in custom patches that reflect their brand values.