
 REVIEWS
How to Make Custom Patches for Clothing: Pro Tips for 2026
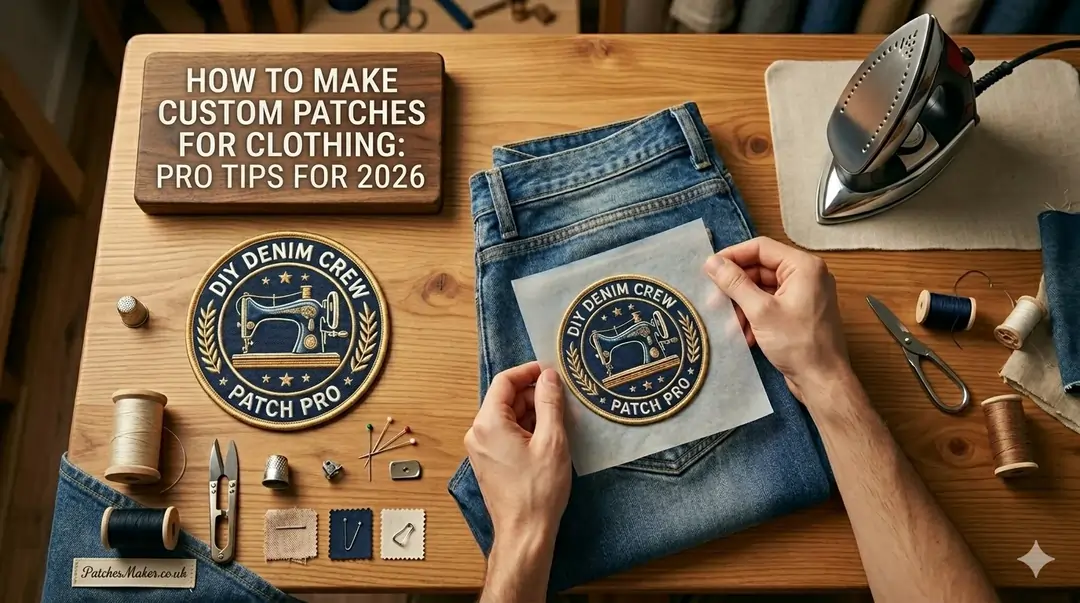
Creating custom patches is a simple and fun process, only if done the right way. The global market for custom patches is growing fast. It is all set to reach up to £5.67 billion by 2033. Patches are no longer just for old-school uniforms. They are now vital tools for streetwear brands, corporate merchandise, and independent artists!
However, making custom patches requires balancing design creativity with manufacturing limits. So if you are currently sitting with a design in your mind, thinking how am I supposed to create something that reflects my personal style? You are at the right place! Continue reading to know how to design, select, and apply custom patches like a professional.
How To Design Your Own Patches?
Designing these tiny and tailored elements requires a specific approach. Let’s take a look at a few key considerations.
1. Choose Your Patch Type
Different patch styles suit different garments. You must choose the right style for the type of design you have in mind for your custom patches UK.
- Embroidered Patches
The most famous option.
- Give a classic look.
- Use thick fabric threads to create a textured feel.
- A perfect choice for hats and hoodies.
- Woven Patches
A woven patch:
- Uses thinner threads than embroidery.
- Has threads that are woven tightly together.
- Works best for highly detailed artwork and sharp designs.
- PVC Patches
This type is:
- Made of durable plastic rubber.
- Is completely waterproof.
- Give clothing a modern, three-dimensional look.
- Chenille Patches
A chenille patch:
- Features a combination of soft, fuzzy threads.
- Mimics the classic varsity letterman jacket style.
- Adds excellent touchable texture to casual streetwear.
- Leather Patches
A great choice for your hats and bags.
- Uses genuine or faux leather panels.
- Designs are stamped or laser-engraved onto the surface.
- Offers a premium, rustic look for denim and winter outerwear.
Follow The Rules of Patch Design
Patch design is different from digital graphic design. Physical threads and plastic cannot replicate every digital pixel.
Remember the following rules.
Ditch the Colour Gradients
Remember:
- Thread colours are completely solid.
- Traditional embroidery cannot blend colours seamlessly like a digital printer.
- Use solid, high-contrast colour blocks instead.
- Choose sublimated patches instead of embroidery for complex colour gradients.
- Avoid Low-Resolution Files
This is one of the extremely important tips to design custom patches :
- Digital embroidery machines require perfect vector files.
- Never send low-resolution screenshots or blurry images to a manufacturer.
- Always build your design file at a minimum of 300 DPI.
- Export your files in clean formats like PNG, PDF, or vector SVG.
- Eliminate Tiny Details
This matters because:
- Very thin lines will disappear during production.
- Tiny geometric shapes will blend together and look messy.
- Keep your lines thick, bold, and highly visible.
Make sure the letters are large and use a clean font if you are using text on the patch design.
- Get Rid Of The AI Art Problem
Here is what you need to remember:
- Generative AI tools often create overly complex images.
- AI art contains too many chaotic shadows and tiny details.
- Most raw AI art files fail during the machine digitizing stage.
- Use AI art only as an initial concept sketch.
- Clean up the final art manually before production.
Select the Right Backing Option
The patch backing determines how the patch attaches to clothing. It also affects how long the patch will last.
Here is what you need to remember about different patch types.
| Backing Type | Best Garment Application | Pros | Cons |
| Sew-on backing | Leather jackets, tactical uniforms | Durable choice | Takes time to apply |
| Iron-on backing | Hoodies and structured hats | Very fast to apply | Can peel off with washing |
| Hook and Loop | Tactical vests and team uniforms | Easily swapped | Risk of gear damage |
| Adhesive | Marketing gear and event shirts | Quick application | Sticks temporarily |
Pick Your Patch Border Finish
The border seals the edges of your patch. It prevents the raw fabric base from fraying over time.
Take a look at the border options available for your patch.
- Merrowed Border Style
This is the traditional, heavy-duty border style to meet the details of custom embroidered patches.
- A specialised machine wraps thick thread around the outer edges.
- This creates a raised, rounded frame around the artwork.
- It works best for simple shapes like circles, rectangles, and shields.
- Laser-Cut (Hot-Cut) Borders
This option works for complex and custom geometric shapes.
- This border is cut with a precise laser beam or heated blade.
- The intense heat melts the synthetic fibres together to lock the edge.
- This creates a completely flat, ultra-clean border.
Invest In A Professional Production Process
Creating a patch at home is a lengthy process. Purchasing a sewing machine, collecting materials, and trying to put all those skills together… This feels like a task and demands a lot of energy.
The better technique? You should enjoy the design process and then let someone experienced handle the manufacturing process.
Here is how to work with a manufacturer to ensure durability and scalability.
Upload Vector Artwork➔ Digital Embroidery Proofing ➔ Physical Sampling➔ Bulk Production➔ Quality Inspection
Step 1- File Conversion
The factory takes your vector artwork file. They convert it into an embroidery file using advanced software programs. This tells the machine where to stitch.
Step 2-Proof Approval
The manufacturer will send you a digital patch proof. Check the text clarity and thread density carefully before saying yes.
Step 3-Test Sampling
Always request a physical sample when ordering a large batch. Colours can look very different under warm physical light compared to a bright laptop screen.
Step 4-Machine Run
High-speed industrial embroidery machines stitch the patches. They maintain exact thread tension across thousands of copies of your sew on patches.
Step 5-Hand Inspection
Quality control workers look over the finished patches. They trim away extra jump threads by hand to ensure a clean finish.
Avoiding the DIY method offers you two main benefits.
- You can easily expect professional-quality results
- You can spend time on the marketing efforts
Test Your Patch Sample
One of the most important considerations is to check the quality of your patches. Right when you have finalised the requirements with your patch provider, you need to ask them for a sample of your patch.
Here is what you need to analyse during that mini quality check:
- Verify the colour with your brand’s colour palette
- Check the stitch density and texture of your patch
- Analyse the strength of backing and attachment
Apply Your Patches Like A Pro
Got your patch order? This is the time to make the right use. However, no matter how perfect your patch is, it will fail if applied poorly.
Follow these application steps for a long-lasting hold.
Technique For Iron-On Patches
Here is how you can ensure the perfect attachment of your iron on patches.
- Clean the target garment completely. Remove any lint or dust particles.
- Set your heat press or iron to a medium-high temperature. Turn off the steam setting.
- Pre-heat the fabric area for 10 seconds to remove hidden moisture.
- Place your patch down. Put a thin piece of parchment paper over the top to protect the thread.
- Press down with heavy, even pressure for 20 to 30 seconds. Do not move the iron side to side.
- Turn the clothing item completely inside out. Iron the back of the fabric for another 15 seconds.
- Let the adhesive cool completely before moving the clothing.
Techniques For Sew-On Patches
The shortest and easiest method.
- Lay the garment completely flat and place the patch on your desired location
- Pin the patch with durable safety pins
- Use a matching thread to thread a needle with it
- Add some extra stitches for securing the patch
- Trim any extra thread around the patch
Even if you use an iron-on backing, add a few stitches around the border. Heavy commercial washing machines can wear down heat adhesives over time. A quick sewing stitch around the edge ensures the patch never lifts.
FAQS
What type of machine do I need to create custom patches?
A commercial-use, advanced embroidery machine is needed to produce patches in bulk. Reputable patch manufacturers are usually equipped with these machines, which can stitch numerous colours at once and deliver quickly to your customers.
What are the most common patch shapes?
The most common patch shapes are circle, a classic choice; rectangle, which works great for name patches; shield patches, common in law; square, which gives a simple, minimal look; and oval, which is the best choice for tiny patches.
What is the standard size for a patch?
A 2-inch circle patch is considered a great choice for small spaces such as shirt sleeves and caps. A 3-inch circle patch is generally considered for chest placements and backpack patches. If you have a huge space, such as the back of your jacket, a 4 to 6-inch should be your go-to option.
Wrapping Up
Custom patches are excellent investments for your personal brand or retail business. They have the power to transform blank spaces into high-value, premium apparel. However, crafting these unforgettable brand assets is only possible by following a few key points and having an experienced manufacturer by your side. So remember to submit a design file in a high-resolution vector format, match the backing choice to the garment’s function, and choose the right border style for your final shape to get custom clothing patches that look clean and last for years.

As the content specialist for PatchesMaker.co.uk, I focus on delivering practical insights into the world of custom patch manufacturing across the UK. My blogs cover everything from military and morale patches to promotional and corporate branding solutions. I break down production processes, quality standards, backing options, and design considerations in a clear and professional manner. Through informative and research-driven content, I aim to help businesses, sports teams, and institutions make confident decisions when investing in custom patches that reflect their brand values.