
 REVIEWS
How to Make Embroidered Name Patches | Step-by-Step Guide
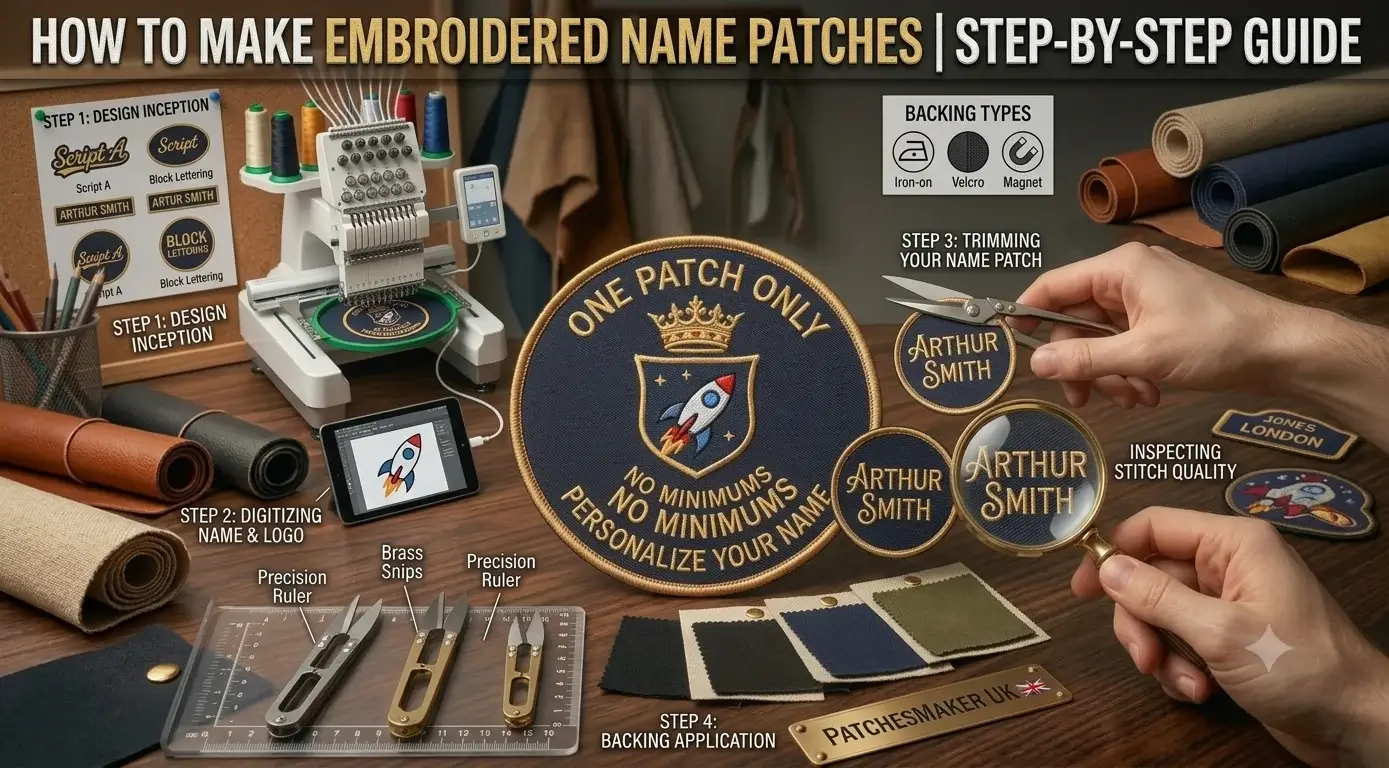
There’s something satisfying about creating a name patch from scratch.
An embroidered name patch gives a hint of practicality along with personality when it is seen on a work shirt or anywhere else.
Those textured details and handcrafted finish are traits that no printed label can match.
But the best part is that creating embroidered name patches isn’t limited to commercial manufacturers. All you need is the right materials and some patience to create patches that look neat and are built to last.
Keep reading to learn everything about the process from planning your design to attaching the finished patch.
The Right Way To Make Embroidered Name Patches Yourself
A lot of patch enthusiasts browse patch collections online, and then their creative side convinces them to create a patch for themselves.
But patch designing takes a lot more than a good idea.
A common query is how to design a patch that stays readable.
Here is how you can create something that doesn’t compromise on any of the factors that are a part of a good-quality patch.
What You’ll Need Before You Start
Having everything ready before you begin makes the process much smoother.
| The items you will need | The Purpose |
| Embroidery machine | Creates the stitched design |
| Twill or felt fabric | Base material for the patch |
| Embroidery stabiliser | Prevents the fabric from shifting |
| Embroidery thread | Adds colour and durability |
| Scissors or rotary cutter | Trims the finished patch |
Preparing all your materials beforehand will save time later if you’re making several patches.
Step 1- Decide What Will Appear on the Patch
Think about the information the patch needs to display before you start stitching.
Most embroidered name patches include:
- A person’s name
- Job title
- Department
- Team name
- Military or club identification
- Simple logo or symbol
Keep the design clean.
Small lettering or detailed artwork will look attractive on a computer screen but become difficult to read once embroidered.
A simple approach can help you produce better results when you are in doubt.
Step 2- Choose the Right Fabric
The fabric forms the foundation of the entire patch.
Twill is one of the most popular choices because it provides a smooth surface while supporting dense embroidery.
Felt is another common option, especially for decorative patches, because it doesn’t fray easily when trimmed.
| Fabric | Best for | Advantages |
| Twill | Uniforms, workwear | Durable and professional |
| Felt | Craft projects | Easy to cut and finish |
| Canvas | Heavy-duty patches | Strong and long-lasting |
Choosing quality fabric at the beginning often improves the appearance of the finished personalised name patches.
Step 3- Select Thread Colours Carefully
Thread colour affects readability just as much as the embroidery itself, and this is why high contrast works best.
For example:
- White thread on navy fabric
- Black thread on grey fabric
- Gold thread on dark green
- Red thread on white
Avoid combining colours that blend, as names become difficult to recognise from a distance.
Matching official brand colours helps maintain consistency across uniforms and merchandise if you’re creating patches for a business or organisation.
Step 4- Prepare the Design
If you’re using an embroidery machine, your artwork must be converted into an embroidery file.
This process, known as digitising, tells the machine:
- Stitch direction
- Stitch density
- Thread changes
- Border placement
- Letter sequencing
Well-digitised files will produce smoother stitching and cleaner lettering.
Lightly transfer the design onto the fabric using a washable fabric marker before beginning hand embroidery.
Step 5- Secure the Fabric Properly
Attach the stabiliser to the back of the fabric and place everything securely inside the embroidery hoop before embroidery starts.
A loose hoop can cause problems in your custom patches UK such as:
- Uneven stitching
- Wrinkled fabric
- Misaligned lettering
- Distorted borders
Taking a few extra minutes to position the material correctly usually prevents far bigger problems later.
Step 6- Stitch the Name
Now the embroidery begins.
If you are using a machine, monitor the stitching rather than leaving it unattended. Occasionally, thread can break or bunch together, especially when you are stitching smaller lettering.
For hand embroidery, work steadily and try to maintain even stitch lengths throughout the name.
You need to remember that neat lettering matters more than speed.
A carefully stitched name patch will look more professional than one that gets completed too quickly.
Step 7- Add a Strong Border
A border gives the patch its finished appearance while helping protect the edges from fraying.
There are several border styles to choose from.
| Border Type | Appearance | Best used for |
| Merrow border | Thick, rounded edge | Uniforms, clubs and workwear |
| Satin Stitch border | Smooth embroidered edge | Small custom patches |
| Laser-cut edge | Clean modern finish | Detailed or unusual shapes |
Merrow borders are one of the most popular choices because they create a durable edge that withstands repeated washing and everyday use. Satin stitch borders work well for smaller patches or custom shapes that require greater flexibility.
Step 8- Cut the Patch Carefully
Remove the fabric from the hoop and trim away the excess material once your embroidery has been completed.
This stage requires patience.
Cut close enough to create a neat finish without accidentally damaging the embroidered border. Sharp embroidery scissors usually provide the greatest control, particularly around curves or corners.
If you’re producing several embroidered patches UK, trimming each one consistently will help them look like a part of the same collection.
Step 9- Decide How the Patch Will Be Attached
The type of application will be determined by the backing option.
| Attachment Method | Suitable For | Advantages |
| Iron-on backing | School uniforms, casual clothing | Quick and convenient |
| Sew-on | Work wear, outdoor clothing | Most durable option |
| Hook and loop ( Velcro) | Military, tactical gear | Easy to remove and replace |
| Adhesive backing | Temporary use | Suitable for short-term applications |
Choosing the right attachment method depends on how frequently the garment will be worn and washed.
Sewing will generally provide the strongest and longest-lasting result if your clothing is going to receive heavy use.
What Are The Common Mistakes to Avoid?
Even experienced embroiderers occasionally encounter problems while creating their patches.
Fortunately, most issues can be prevented with careful preparation.
Avoid these common mistakes:
- The choice of lettering that is too small.
- Using colours with poor contrast.
- Skipping the need for a stabiliser.
- Addition of overcrowded designs.
- Trimming too close to the stitching.
- The use of a low-quality thread.
Paying attention to these details usually produces a cleaner and more professional-looking patch.
Should You Make Them Yourself or Order Them Professionally?
So, can I make my own embroidery patches?
Making embroidered name patches yourself can be rewarding, especially for small projects or personal use.
However, larger orders often require specialist equipment and production methods that deliver greater consistency.
| DIY Embroidery | Professional Production |
| Is suitable for one-off projects | An ideal option for bulk orders |
| Offers you greater creative control | Consistent quality across every patch |
| Comes with a lower cost for occasional use | Has faster production for larger quantities |
| Requires equipment and practice | Minimal effort once artwork is approved |
Creating patches yourself can be an enjoyable project if you only need one or two patches. But going for professional help is a more practical approach if you are a business or club that is ordering hundreds of identical patches.
What You Need To Know More About Embroidered Name Patches
What font styles should I use for embroidered name patches?
You can use simple sans-serif fonts as they are usually the easiest to read after embroidery. Avoid using decorative or script fonts as they struggle with clarity, especially when stitched at smaller sizes.
Can embroidered name patches be made in custom shapes?
Yes. They can be produced in multiple shapes such as rectangles, shields, and many other types, provided the border can securely follow the outline.
How thick should an embroidered patch be?
Patch thickness depends on the fabric and stitch density. A lot of name patches are thick enough to feel durable without becoming stiff or uncomfortable on clothing.
Are embroidered name patches suitable for industrial workwear?
Why not? Embroidered patches can tolerate regular washing and demanding working environments, but only when they are made with quality thread and are securely sewn onto garments.
Can old embroidered name patches be replaced without damaging clothing?
Yes. Careful removal of stitched patches and their replacement with new ones is a common way to update uniforms without replacing the entire garment in most of the cases.
Key Takeaways
Embroidered name patches are a perfect way to add a personal touch to your clothing along with a professional finish. All it takes is a careful planning process and getting the right tools in your hands to make the real difference in results. So whether you are creating just a single patch for yourself or producing designs for a huge team, make sure to follow these steps to get a patch that works great and looks good as well!

As the content specialist for PatchesMaker.co.uk, I focus on delivering practical insights into the world of custom patch manufacturing across the UK. My blogs cover everything from military and morale patches to promotional and corporate branding solutions. I break down production processes, quality standards, backing options, and design considerations in a clear and professional manner. Through informative and research-driven content, I aim to help businesses, sports teams, and institutions make confident decisions when investing in custom patches that reflect their brand values.