
 REVIEWS
What Do You Need to Know About Custom Motorcycle Patches in UK?
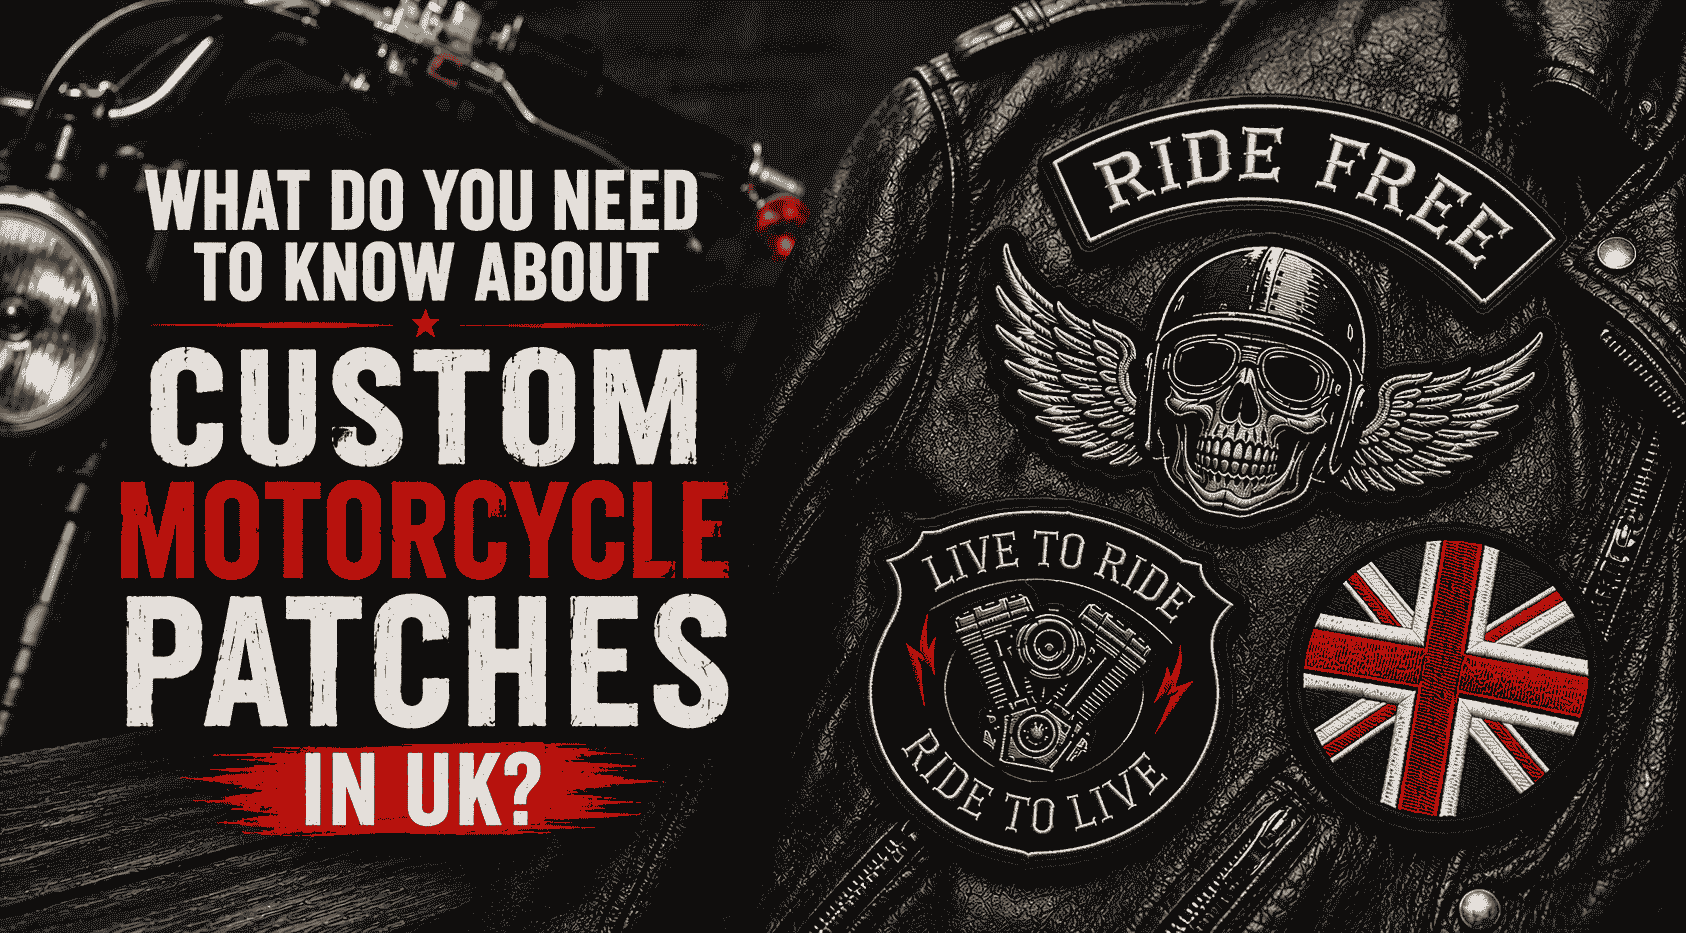
Custom motorcycle patches carry weight in UK biker culture that goes beyond decoration. A patch tells other riders who you ride with, what you’ve earned, and sometimes what not to assume about you. Get the design or placement wrong, and it can read as a mistake rather than a statement.
This guide breaks down what actually matters before you design, order, or attach a patch: the etiquette riders follow, the materials that hold up through a British winter, where a patch belongs on your gear, and how to work with a maker who gets the details right. No filler, just what you need before your patch goes on.
Follow The Right Layout For Motorcycle Patches
Patch layout in the UK biker scene follows a structure that’s understood more than it’s written down. Getting this right before you design anything saves confusion later.
MC vs Riding Club
An MC (Motorcycle Club) operates with a strict hierarchy and often claims territory. A riding club or social group has no such claim and usually wears a single badge rather than a full set. Knowing which one you belong to decides what layout is appropriate for you.
Three-Piece Layout Rules
The top rocker, centre patch, and bottom rocker format is specific to established MCs. Wearing this layout without being part of a recognised club can cause real problems within the community.
Solo Rider Designs
If you ride independently, a one-piece patch works best. Skip rockers altogether and choose a design that stands on its own, such as a symbol, initials, or a personal graphic.
Pick The Right Patch Type
The material you choose changes how the patch looks and how long it lasts. Each type suits a different style of gear.
| Type | Best For | Texture |
| Embroidered | Classic biker look, bold lettering | Raised, stitched |
| Woven | Detailed artwork, fine text | Flat, smooth |
| PVC | Wet rides, outdoor gear | Rubbery, raised |
| Leather | Premium vests, understated designs | Natural, textured |
Embroidered patches remain the most common choice for club and personal designs, since the raised stitching holds up well on leather and denim. Woven patches work better when your artwork has small details or thin lettering that embroidery might blur. PVC suits riders who spend time out in the rain, as it resists water and mud without losing shape. Leather adds a premium finish, best kept simple since the material itself does most of the work.
Choose Weather-Ready Materials
UK weather shifts fast, and your patch needs to keep up with it.
Rain and Moisture
Embroidered thread can hold up fine in light rain, but repeated soaking without proper drying speeds up wear. PVC handles wet rides better, since it sheds water instead of absorbing it.
Fading Over Time
Sun exposure and regular washing both pull colour out of a patch. Darker threads and UV-resistant dyes hold their tone longer than bright, unprotected colours.
Fraying With Wear
Merrow borders reduce fraying along the edges, which matters most on patches that see daily wear or sit on a jacket sleeve. Riders looking into custom motorcycle patches in UK conditions should factor in border quality as much as design, since the edge is usually the first part to wear down.
Place Your Patch Correctly
Where a patch sits on your gear carries meaning, not just style.
Back Centre
Reserved for the largest patch, usually a club logo or main design. This spot gets seen first when another rider pulls up beside you.
Front Chest
Smaller patches go here: names, ranks, or personal symbols. The left side often carries identity. The right side holds extra badges.
Sleeves and Shoulders
Good for smaller designs, event badges, or support patches that don’t need the same visibility as a back patch.
A few placement basics worth keeping in mind:
- Larger designs belong on the back, not the front
- Front patches should stay readable up close, not from a distance
- Sleeve patches work best when kept simple, since the space is limited
Pick the Right Attachment Method
The attachment method affects how long a patch stays put and how easily it can be changed later.
Sewing
The most secure option for leather vests and jackets that see regular wear. Best done by hand or machine, especially on thicker material.
Iron-On
Works well on lighter fabrics, though not every jacket can handle direct heat. Always check the material first.
Velcro
Useful if you swap designs often or want to move a patch between garments without committing to one spot.
Creating your own motorcycle patches doesn’t end at the design stage. Choosing the right attachment method is what makes the finished patch actually last.
Order From a Trusted Maker
A good patch depends as much on the maker as it does on your design.
Design Proof First
Ask for proof before production starts. This confirms colours, sizing, and layout match what you actually want, not just what looked right on screen.
Revision Policy
Check how many free revisions are included. Small adjustments to text or colour shouldn’t cost extra before the final approval.
Turnaround Time
Production time varies depending on complexity and order size, so confirm this upfront if you need patches by a specific date.
Working with a reliable patches maker UK riders already trust makes the whole process easier to manage from proof to delivery.
Before placing an order, run through these steps:
- Confirm the backing type: sew-on, iron-on, or Velcro
- Review the design proof carefully
- Check turnaround time against your deadline
- Ask about revision limits before approving
FAQs
1. What is the 3-patch rule?
The three-piece patch, top rocker, center patch, and bottom rocker, is a layout reserved for established motorcycle clubs. It signals official membership and must be earned, not designed casually or bought.
2. Can I design my own custom patch?
Yes. You can sketch your design or build it digitally, then send it to a patch maker for production, or stitch a simple version yourself using a home embroidery machine.
3. What is the best backing for a patch?
It depends on the garment. Sew-on backing holds up best on leather and heavy fabric, iron-on suits lighter material, and Velcro works if you plan to swap patches between jackets.
4. How long does it take to get custom patches made?
Most orders take 2 to 3 weeks from design approval to delivery. Production usually runs 7 to 14 business days, with shipping adding a few more.
5. Is there a minimum order for custom patches?
Many UK makers set a minimum around 25 to 50 pieces, though some accept smaller batches or single patches at a higher cost per piece.
Final Thoughts
A custom motorcycle patch works best when the design, material, and placement all match what you actually need it for. Whether you’re finishing a club set or building a one-piece design for your own jacket, checking these details first saves you from redoing work later. Getting the rules, materials, and attachment method right the first time means your patch holds up on the road and looks the way it was meant to from day one.

As the content specialist for PatchesMaker.co.uk, I focus on delivering practical insights into the world of custom patch manufacturing across the UK. My blogs cover everything from military and morale patches to promotional and corporate branding solutions. I break down production processes, quality standards, backing options, and design considerations in a clear and professional manner. Through informative and research-driven content, I aim to help businesses, sports teams, and institutions make confident decisions when investing in custom patches that reflect their brand values.