
From the runways to the streets, iron-on patches are trending. They were once very common among everyone, from hippies to fashionistas and all the people in between.
The trend started in the ‘60s and has made a massive comeback in recent years. Patches are trending again and for good.
They are a perfect way to make any item of clothing a one-of-a-kind. They are ideal for those planning to step up their style or make a statement. These add-ons are a simple tool to express your personality and yourself.
However, they can also be an exceptional branding tool for your brand. There are various different patches to opt for, and each one comes with its own perks.
Today, we will examine the world of iron-on patches and give you some helpful insights for designing the perfect patch.
The first and most vital element of any emblem is its appearance. One of the most important signs of a top-notch iron-on patch is its design. These emblems should be eye-striking but not very distracting.
Because you don’t want them to steal away all the attention that you are trying to seek, do you?
So, let us start right now!
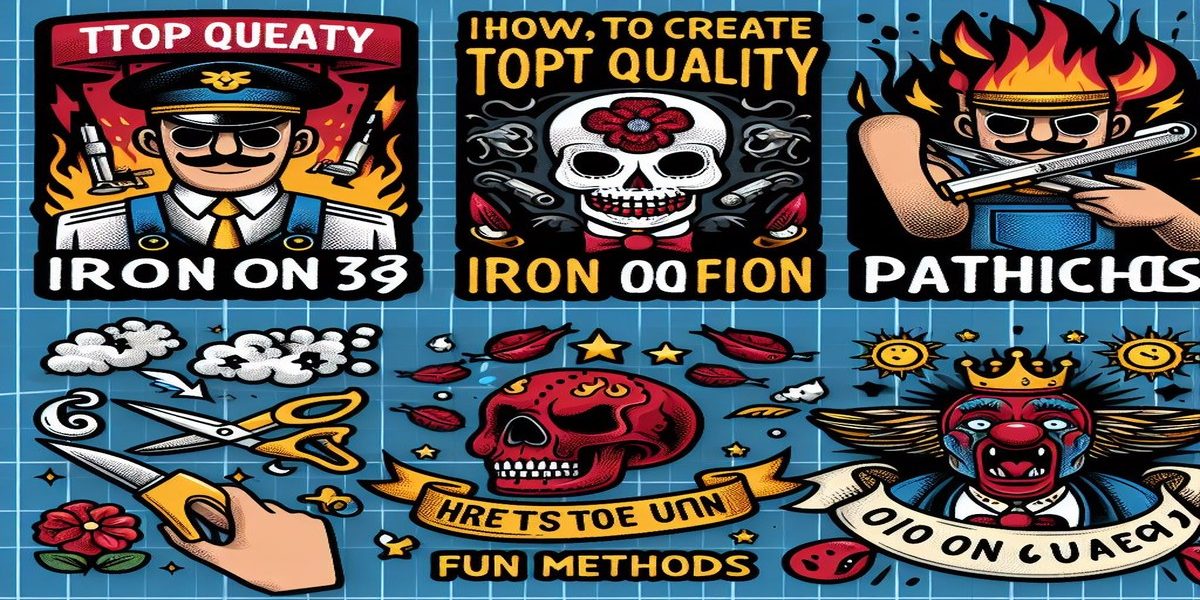
How To Make Your Iron On Add-Ons
A lot of people have the resources to craft and design iron-on patches. Craft stores have the required supplies for how to make your own top quality iron-on patches. You also have the option of having your custom designs on your add-ons. This is a great choice when you want to make one-of-a-kind patches. All you need to do is send them your design and this does not include copyrighted or trademarked images. You can even ask these reputable service providers for an absolutely free quote.
Tools Needed How To Make Your Own Iron Patches
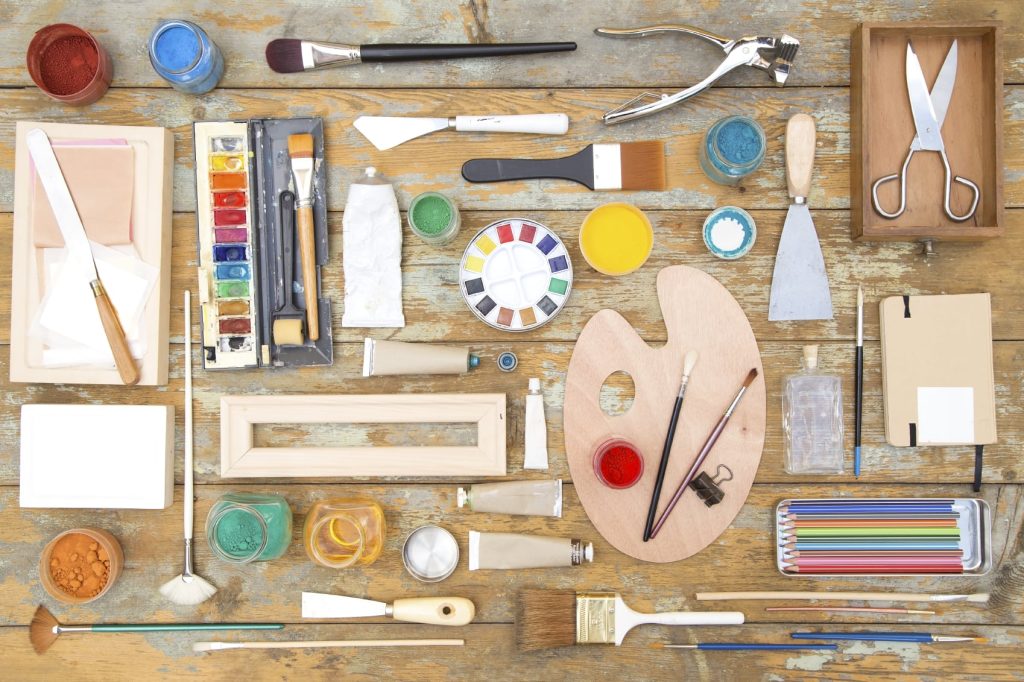
In order to make your custom patches, you need a bunch of tools. Here is a list of tools you will require to make them at home:
| No. | Item |
| 01 – | Scissors |
| 02 – | Stiff fabric |
| 03 – | Peel-and-stick fabric fuse |
| 04 – | Transfer sheets |
| 05 – | Inkjet printer |
| 06 – | Phone camera or another digital camera |
| 07 – | Photo editing software |
| 08 – | An Iron |
| 09 – | Fabric pencil |
| 10 – | Embroidery floss |
| 11 – | Sewing machine |
| 12 – | Embroidery needle |
| 13 – | Embroidery hoop |
How To Select Your Own Artwork For Your Add-Ons
You obviously need drool-worthy artwork to start designing your patches. For that, you need to:
- Avoid intricate or complicated designs
- Choose contrasting colours
- Limit finished product to 5 inches or less
- Use strong lines and a lot more
3 Simplest Ways To Make Your First-Rate Quality Iron-On Patches
Tailoring iron-on patches does not have to be complicated. There are a few options, based on your skill level and supplies. So, opt for a method that matches your preferences, and follow our guide, and you will have a fancy patch in no time.
No. 1 – Hand Embroidering A Patch
The most daunting yet most efficient way to make your own iron-on add-ons is through hand-embroidery stitches. You have to follow these steps for this authentic and rewarding project:
- To begin, select a simple design because you will have to hand-embroider the design yourself
- Select a thread colour that complements your patch and is easy to see. Moreover, you also have to opt for a fabric that is suitable for hand-embroidering add-ons, such as cotton or denim
- Trace your design on a moderate-weight cotton fabric with a transfer pen. Ensure it has a fine tip so that you can clear all the outlines
- Place the material inside your embroidery hoop, organising the inner hoop under and the outer hoop on top of the fabric
- Fasten it securely for a perfect fit
- Use an embroidery floss to thread the needle, and secure it by tying a double knot at the end of the thread
- Select any starting point and poke the needle into the fabric. Stick your needle from the back of the fabric and carefully pull it through the front. Continue this process by punching your needle from back to front and front to back
- When you are done, remove the embroidery hoop
- Cut your embroidered fabric to your preferred shape and size. Ideally, you should use fabric scissors for precise cuts. We suggest you leave a border on the edge to create a polished look
- Place your emblem on the sticky surface of a peel-and-stick sheet.
- Trim the sheet to match the shape and size of your emblem
- Now you are all set to attach your emblem to your garment. Use iron to heat-activate the adhesive
No. 2 – Using A Sewing Machine
You can save yourself a lot of time by going for this method. Moreover, sewing machines save people the hassle of hand-embroidery an emblem manually. So, if you have access to a sewing machine, follow these steps:
- Choose a design that attracts you. Opt for thick fabrics such as canvas, twill, denim, felt, or upholstery fabric
- After that, you need to trace your artwork on your chosen fabric
- Set the machine stitch length between 0 and 2 if you need thicker borders. Bold stitches also fill the designs more quickly. However, if you prefer small stitches, then use smaller numbers
- Using a zigzag stitch, follow the lines attentively. Pick a corner as your beginning point. The 1-08 setting is ideally the best for a traditional zigzag stitch
- Keep stitching till you complete your design and then cut the excess fabric to your preferred shape and size
- Peel away the backing cover of the peel-and-stick sheet, and attach your emblem to the sticky surface
- Trim the extra sheet till you achieve the preferred shape of your custom patches
- Now you are all set to iron on the emblem
No. 3 – Using Inkjet Transfer Paper
This one is the most beginner-friendly method as compared to the ones we have discussed above. In this method, you simply print your artwork on transfer paper, which will directly iron onto your patch fabric.
- You need to begin by creating an emblem design. Think about having a graphic designer or an illustrator tailor a custom design
- Flip your design prior to printing as laying the print-out design on the fabric will create a mirror image. Reversing the design makes sure that you get an upright image rather than an upside-down one
- Draw a black outline around your artwork as this colour would easily be visible through the fabric
- Select a patch size and adjust your picture size to match the emblem
- Print your patch design on a transfer sheet with an inkjet printer
- Use a cutting machine to precisely cut down the design
- Place the transfer sheet onto the iron-on patch backing
- Apply heat using an iron or heat press
- Carefully peel off the transfer sheet
- Use scissors to cut the patch out
Summing It All Up
No matter whether you are tailoring patches to simply add some charm to your closet or for your uniforms, these patches serve a lot of purposes. With the tips mentioned above, you can easily produce your own top-notch quality custom patches. So, start right now! And if you find yourself stuck somewhere, you can seek help from any online patch manufacturer. These experts will guide you and help you make the best patches of all time for yourself. We are sure that you are going to make some attention-grabbing patches now!